在config.inc.php 加上或修改以下coding
$cfg['LoginCookieValidity'] = 3600 * 9; // 9 hours
完成
在config.inc.php 加上或修改以下coding
$cfg['LoginCookieValidity'] = 3600 * 9; // 9 hours
完成
linux command 搵folder 入面 jpg,png,gif 以外的files
假設要找尋的folder 為 /var/www 的所有file
find . ! -name '*.jpg' ! -name '*.png' ! -name '*.gif'
10.7後,MAC OSX 加入新功能,可以restore 返你關機前既狀態
小妹通常一開就開一大堆program的,aperture, photoshop , ai , eclipse , 總之開得就開
問題就尼了,一重新開機,等到微笑。
終於找到可以停止restore 動作。
先去system preference> General
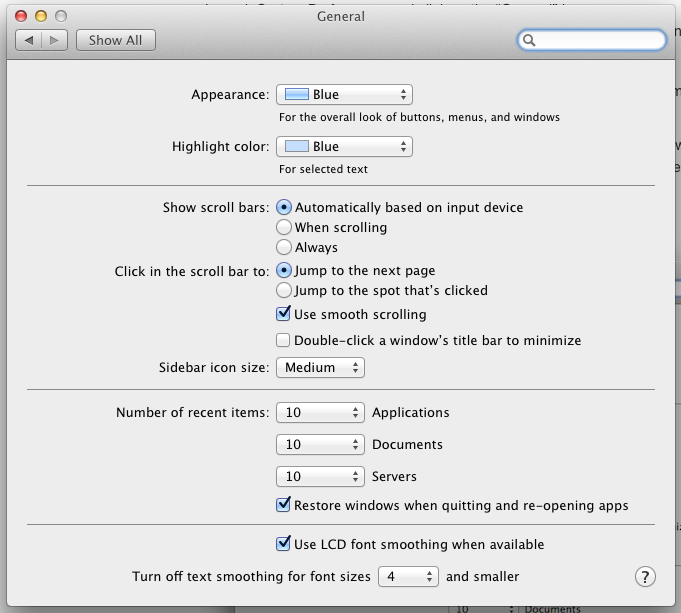
untick "Restore windows when qutting and re-opening apps , 之後就可以重新開機而不restore apps
SELECT `accountname` FROM `tablename`
where `log_date`>'2012-12-30 00:00:00'
and `log_date`<'2013-01-03 23:59:59'
group by `log_date`,`accountname`
having COUNT(DISTINCT date(log_date));
先要create function
DELIMITER //
CREATE FUNCTION bits_find_N1(bits BIGINT, trait BIGINT)
  RETURNS BOOL
  BEGIN
    WHILE bits <> 0 DO
      IF ((bits & trait) = trait) THEN
        RETURN TRUE;
      END IF;
      SET bits = bits >> 1;
    END WHILE;
    RETURN FALSE;
  END//
  DELIMITER ;
mysql statement
SELECT accountname AS bit FROM tablename
WHERE log_date BETWEEN '2012-12-30 00:00:00' AND '2013-01-03 23:59:59'
GROUP BY uid
HAVING bits_find_N1(BIT_OR(1 << datediff(log_date, '2012-12-30')),
b'11111') IS TRUE;
如果某column 數目要到一定數目
SELECT accountname AS bit, sum(cardamount) FROM tablename
WHERE log_date BETWEEN '2012-12-30 00:00:00' AND '2013-01-03 23:59:59'
GROUP BY uid
HAVING bits_find_N1(BIT_OR(1 << datediff(log_date, '2012-12-30')),
b'11111') IS TRUE and sum(cardamount)>=1200;
詳細可參考
http://www.mysqlops.com/2012/03/06/an_interesting_query.html
先安裝RootKit Hunter
cd /tmp
wget http://ncu.dl.sourceforge.net/project/rkhunter/rkhunter/1.4.0/rkhunter-1.4.0.tar.gz
tar -xvf rkhunter-1.4.0.tar.gz
cd rkhunter-1.4.0
./installer.sh --layout default --install
cd /usr/local/bin
mv rkhunter /usr/bin/
之後update db
rkhunter --update
rkhunter --propupd
之後要修改/etc/rkhunter.conf
nano /etc/rkhunter.conf
加入hidden file whitelist
SCRIPTDIR=/usr/local/lib/rkhunter/scripts

ALLOWHIDDENDIR="/etc/.java"
ALLOWHIDDENDIR="/dev/.udev"

ALLOWHIDDENFILE="/dev/.initramfs"

SCRIPTWHITELIST=/usr/bin/unhide.rb
Scan Machine 方法
rkhunter --checkall
完成
rm -r rkhunter-1.4.0
rm -r rkhunter-1.4.0.tar.gz
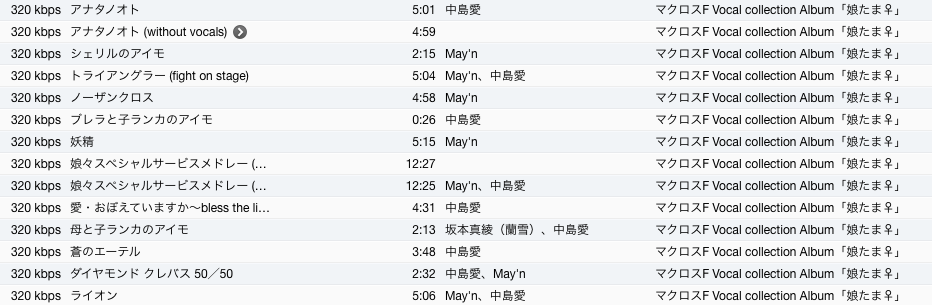
遇到 Itune歌名亂碼

可以用 UnicodeRewriter幫手
先到以下URL 下載
http://sourceforge.net/projects/unicoderewriter/
下載後,install , 不困難的,開啟後會有以下interface 出現
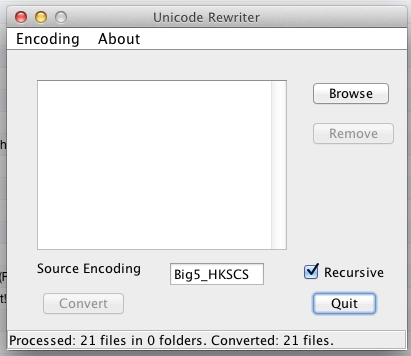
將亂碼的歌拉入去porgam到 , 再改到Encoding 選擇 source Encoding, 通常都係以下的coding
再入返itune 就不會有亂碼出現
To show users who are logged in to the system
who
To show the list of users who have logged in last
last
To show the list of all reboots
last reboot
To print the content of the last login log from /var/log/lastlog
lastlog
To List out the login history for certain acc
last [username]
如果要hmail connect mysql, 需要先加上mysql 既library
lbymysql.dll 將此file 抄到 ./hmailserver/bin
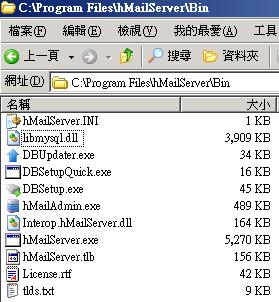
之後開啟hmailserver>hmailserver database setup
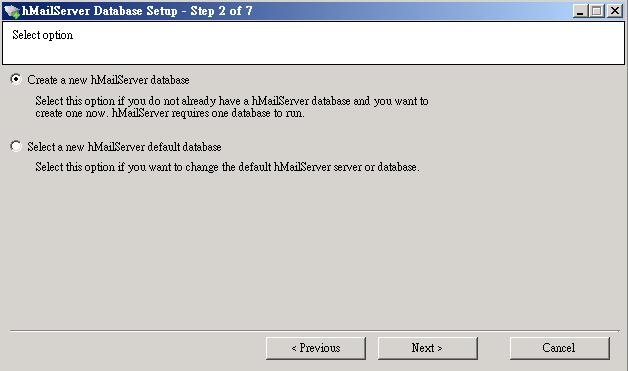
New databases choose first one
Choose Mysql

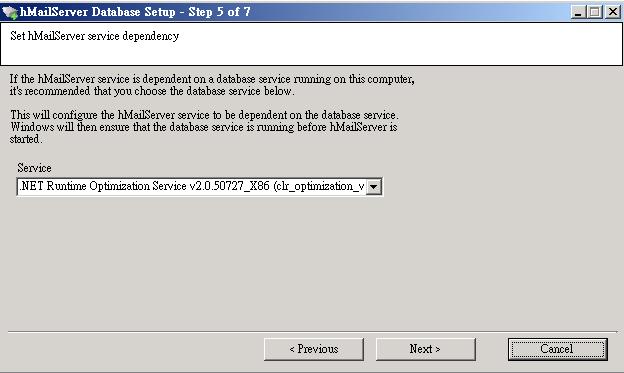
Service 選擇.net runtime optimization service
之後就可以完成
首先要係ESXi 內開firewall port
先用SSH 方法入去ESXi,
Enable SSH on ESXi 可以參考以下文章
http://connie.hk/146/esxi/esxi-ssh-enable/
用VI開啟以下FILE, 去到最底, 看看最後的Service id
vi /etc/vmware/firewall/service.xml
以下圖為例,最後的service id 為0032

之後可以用notepad 輸入以下東東, 改左個service id 係之前在service.xml 的+1
port 可以set ip range
<ConfigRoot>
<service id='0033'>
 <id>VNC</id>
 <rule id = '0000'>
  <direction>inbound</direction>
  <protocol>tcp</protocol>
  <porttype>dst</porttype>
  <port>
   <begin>5900</begin>
   <end>5910</end>
  </port>
 </rule>
 <enabled>true</enabled>
</service>
</ConfigRoot>
save 做VNC.xml , 用winscp or 其他東東upload 上 /etc/vmware/firewall
Reflesh firewall rule
esxcli network firewall refresh
還有一步就是要在每個想被vnc的VM內加入configuration parameters
先將該VM關掉,到Edit Virtual machine settings>Options>Advanced>General>configuration parameters
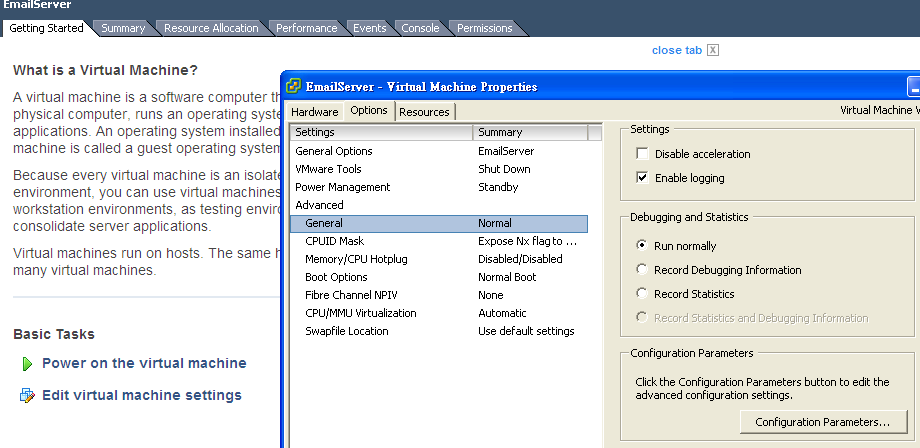
Add Row
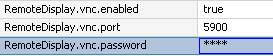
remoteDisplay.vnc.enabled = true
remoteDisplay.vnc.port = 5900
remoteDisplay.vnc.password = ****
之後就可以用vnc client 輸入esxi ip 用不多的port vnc ESXi's VM

Recent Comments