» unity の記事
-change the folder name of asset’s parent folder
-del all the .sln or .csproj file
-restart project
min use unity 2017version
change scripting backend to IL2CPP
Target Architectures> click arm64 and unclick x86

-create project with no activity
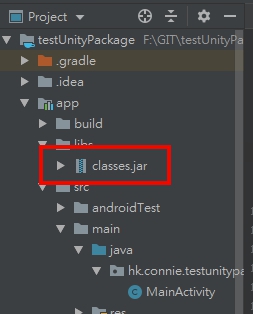
-libs copy unity classes file
C:\Program Files\Unity\Editor\Data\PlaybackEngines\AndroidPlayer\Variations\mono\Release\Classes\classes.jar
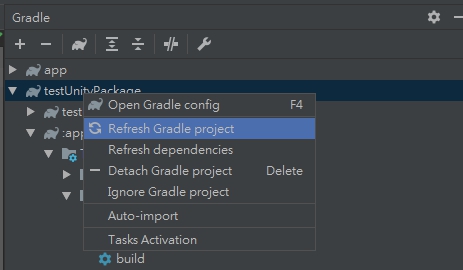
-Gradle window =>refresh Gradle project
Create Class MainActivity.class
package hk.connie.testunitypackage;

import android.os.Bundle;
import android.support.v7.app.AlertDialog;
import android.widget.Toast;

import com.unity3d.player.UnityPlayerActivity;

public class MainActivity extends UnityPlayerActivity {

    @Override
    protected void onCreate(Bundle savedInstanceState) {
        super.onCreate(savedInstanceState);
    }

    public String ShowDialog(final String _title, final String _content){
        runOnUiThread(new Runnable() {
            @Override
            public void run() {
                AlertDialog.Builder builder = new AlertDialog.Builder(MainActivity.this);
                builder.setTitle(_title).setMessage(_content).setPositiveButton("Down", null);
                builder.show();
            }
        });
        return "Java return";
    }

    public void ShowToast(final String mStr2Show){
        runOnUiThread(new Runnable() {
            @Override
            public void run() {
                Toast.makeText(getApplicationContext(),mStr2Show, Toast.LENGTH_LONG).show();
            }
        });
    }

}
AndroidManifest.xml
<application>
.....
<activity android:name="hk.connie.testunitypackage.MainActivity">
    <intent-filter>
        <action android:name="android.intent.action.MAIN" />
        <category android:name="android.intent.category.LAUNCHER" />
    </intent-filter>
    <meta-data android:name="unityplayer.UnityActivity" android:value="true" />
</activity>
.....
</application>
build.gradle
Change
apply plugin: ‘com.android.application’
to
apply plugin: ‘com.android.library’
and del
applicationid
Go to Gradle Windows > select the package >tasks > Build > assemble
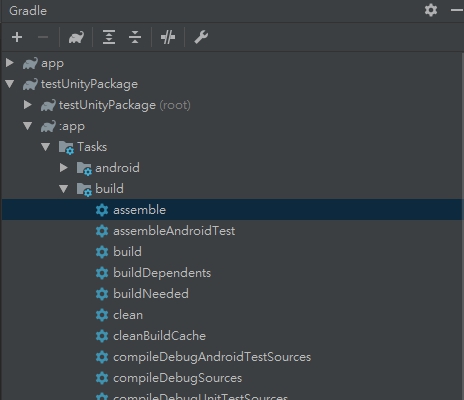
Then it will generate a aar file to this folder xxx\testUnityPackage\app\build\outputs\aar
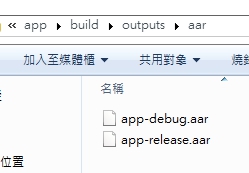
Then change the file extension to zip

use winrar to open it and del the classes.jar and change back to aar extension
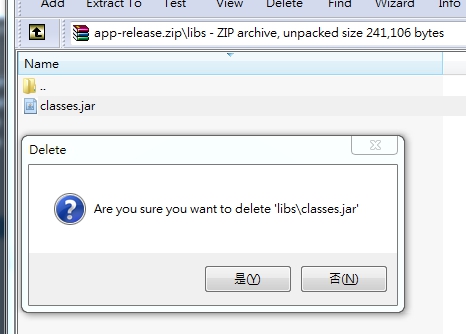
Then the aar file is ready for unity.
Open a new project in unity
create new button

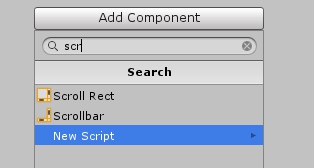
create new empty game object and add component > new script

using System.Collections;
using System.Collections.Generic;
using UnityEngine;
using UnityEngine.UI;
public class controller : MonoBehaviour {
public Button loginBtn;
// Use this for initialization
void Start () {
loginBtn.onClick.AddListener(loginAction);
}
// Update is called once per frame
void Update () {
}
void loginAction()
{
Debug.Log("You have clicked the button!");
using (AndroidJavaClass jc = new AndroidJavaClass("com.unity3d.player.UnityPlayer"))
{
using (AndroidJavaObject jo = jc.GetStatic<AndroidJavaObject>("currentActivity"))
{
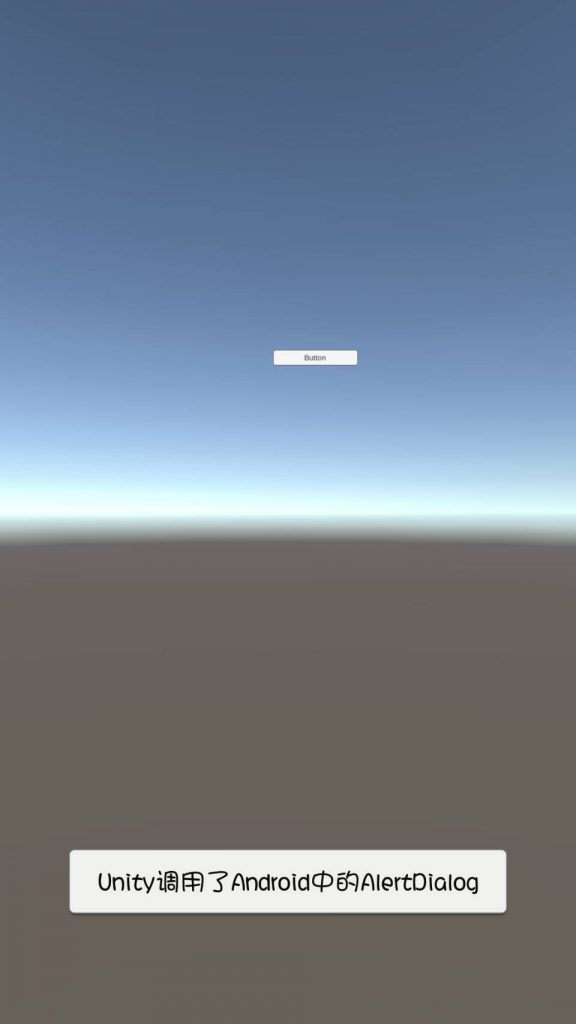
jo.Call("ShowToast", "Unity use Android's AlertDialog");
}
}
}
}
then go to assets windows
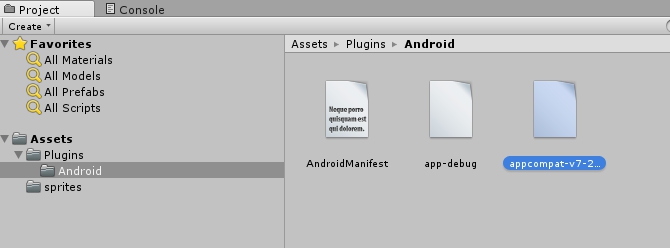
create folder Plugins>Android
put the aar file and AndroidManifest.xml to the folder
aar location:
xxx\testUnityPackage\app\build\outputs\aar
AndroidManifest.xml location:
xxx\GIT\testUnityPackage\app\src\main\AndroidManifest.xml
and most important thing is since we have use com.android.support:appcompat-v7 in android studio and we are using gradle method to import the lib, unity will not auto import that library, so we have to copy the v7 lib to the unity, which is location at
C:\Users\xxx\AppData\Local\Android\sdk\extras\android\m2repository\com\android\support\appcompat-v7\xxx.aar

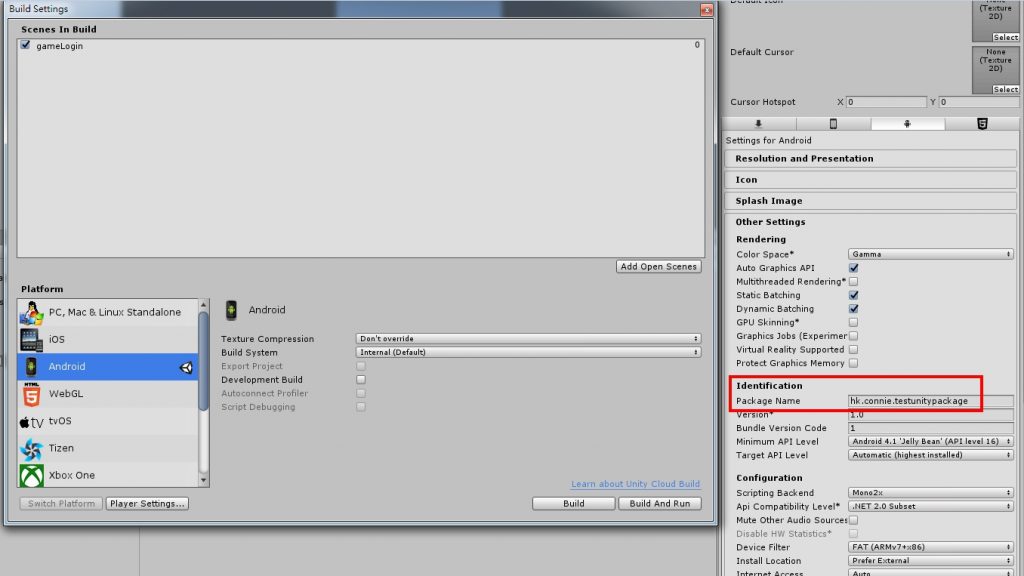
Unity go to build setting=>Android=>PlayerSetting
change the package name, it should be as same as your android studio aar project
我地想做出Dynamite text box可以scroll 效果

首先生一個panel出來,調好大小(尼個大小會係你最後顯示出尼既大小),再生一個UI.text出尼,然後將UI.text拉入去panel內
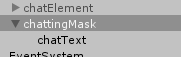
調一下UI.text的大小,最好大於panel方便測試scrolling
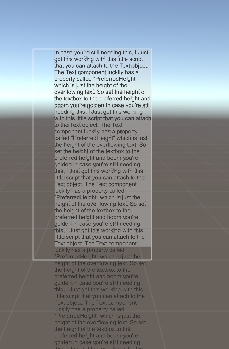
然後,去panel加入<mask>同<scroll Rect>,mask 主要用尼cover左出血既位,scroll rect是用scroll,Content選擇text

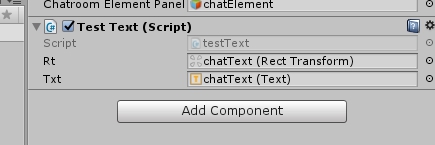
然後用script計算出textbox既size
public RectTransform rt;
public Text txt;

void Update () {
        rt.sizeDelta = new Vector2(rt.rect.width, txt.preferredHeight);
}
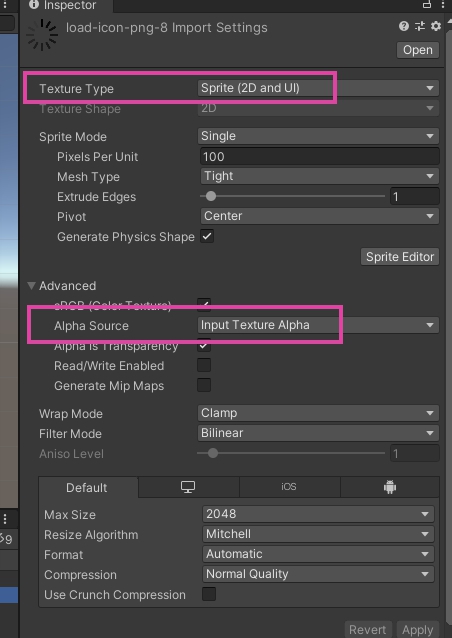
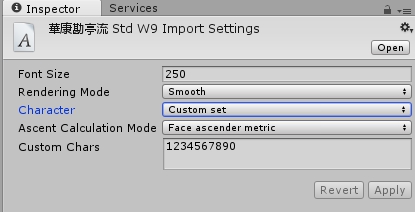
~ unity 減少字體容量既方法 ~
如只會顯示1234567890
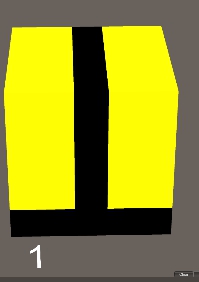
Fixing the 3d text always on top layer problem,
左邊係我地常出現的情況,右手邊係我地想要既情況


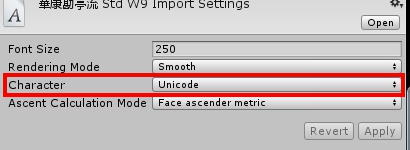
以下方法不能使用預設FONT,要import 字型入去,我用勘亭流做例子

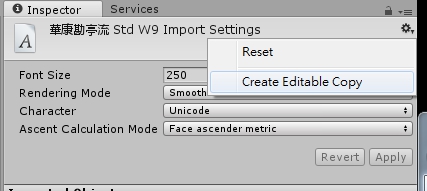
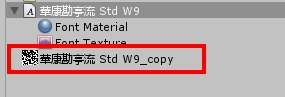
將字型IMPORT入去ASSET內,在inspector的character 轉成unicode,再Create editable copy
甘生了一個字型texture出來
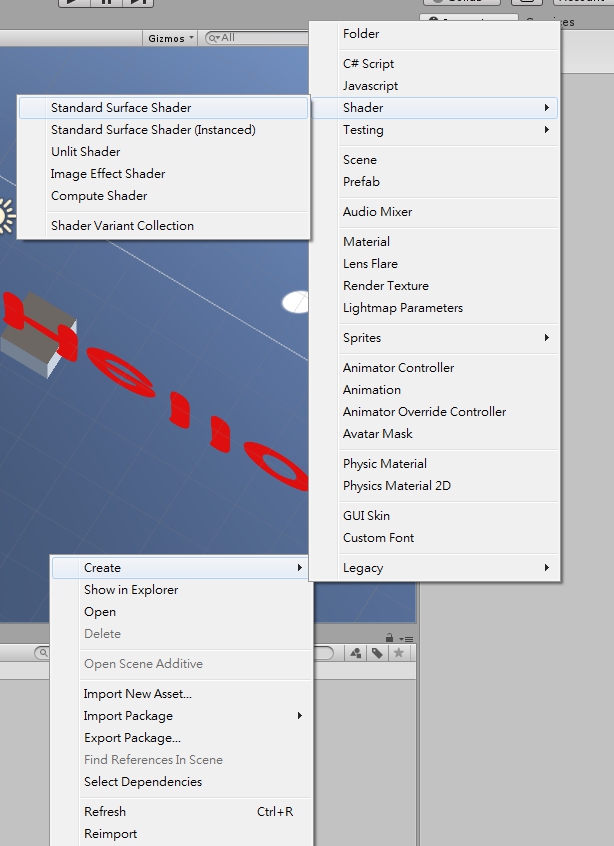
之後在ASSET Folder Create 新既shader
Shader "GUI/3D Text Shader" {
	Properties{
		_MainTex("Font Texture", 2D) = "white" {}
	_Color("Text Color", Color) = (1,1,1,1)
	}

		SubShader{
		Tags{ "Queue" = "Transparent" "IgnoreProjector" = "True" "RenderType" = "Transparent" }
		Lighting Off Cull Off ZWrite Off Fog{ Mode Off }
		Blend SrcAlpha OneMinusSrcAlpha
		Pass{
		Color[_Color]
		SetTexture[_MainTex]{
		combine primary, texture * primary
	}
	}
	}
}
之後在ASSET Folder Create 新既Material
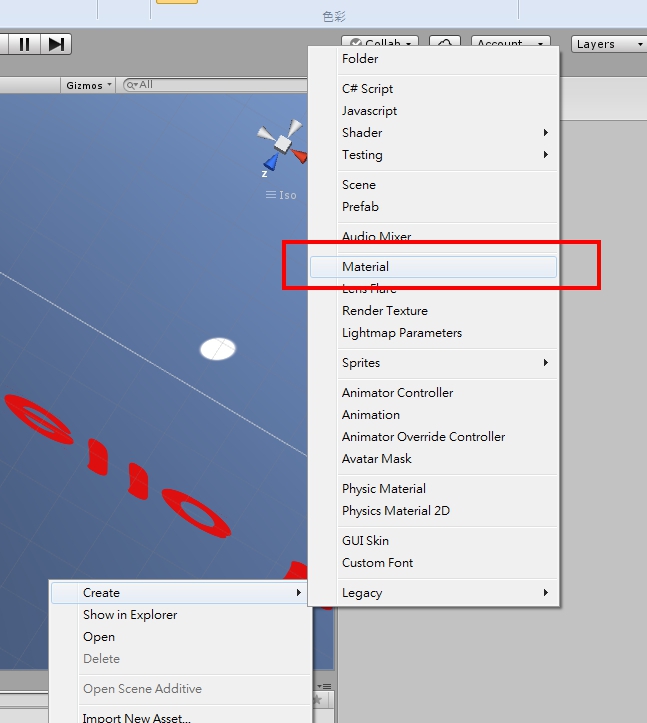
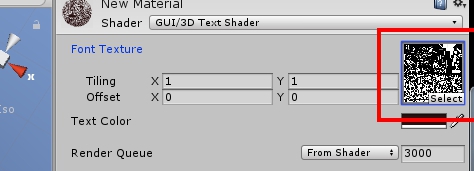
New Material 內Shader部份用GUI->3D Text shader 即係剛剛加入的Shader

然後Texture 加入剛剛做出來的Font Texture
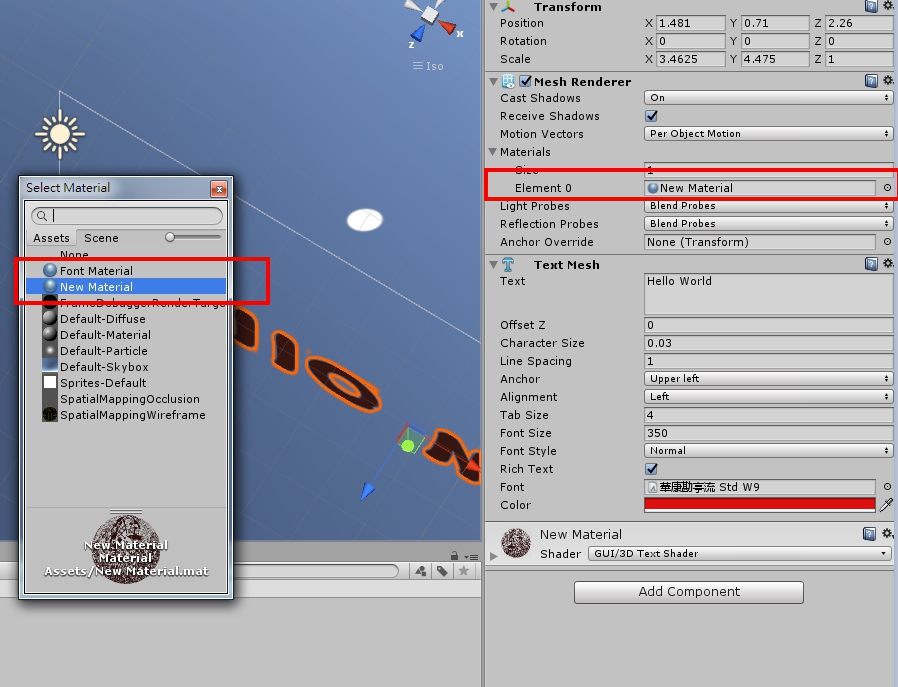
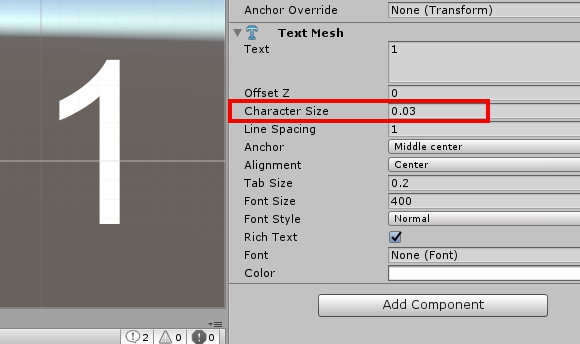
然後去3D Text Object , Mesg Renderer內materials 由Font Texture 改為new material,甘就可以了
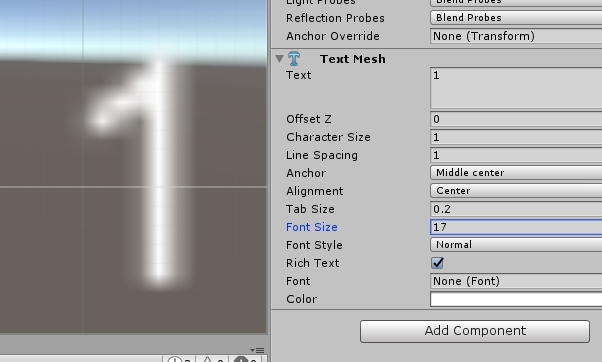
Set the character Size to 0.03 and increase the Font size
« Previous Page | HOME |

Recent Comments