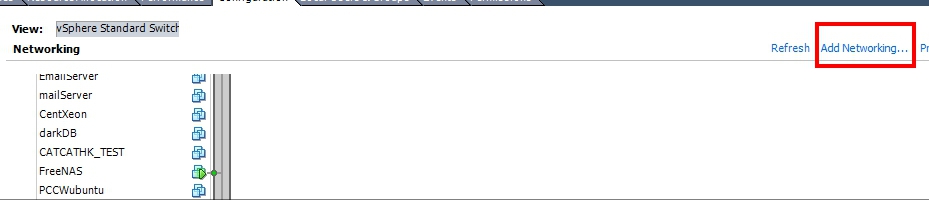
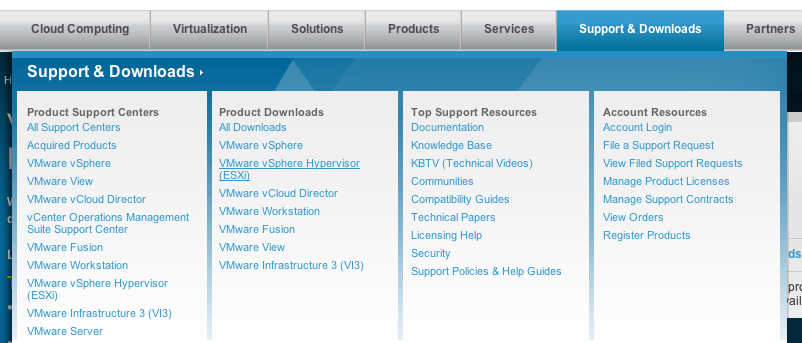
首先如果要生一個vmdk大於2TB,必須使用 vmware web client 處理
先安裝windows 2012 R2, 再安裝vCenter Server for Windows
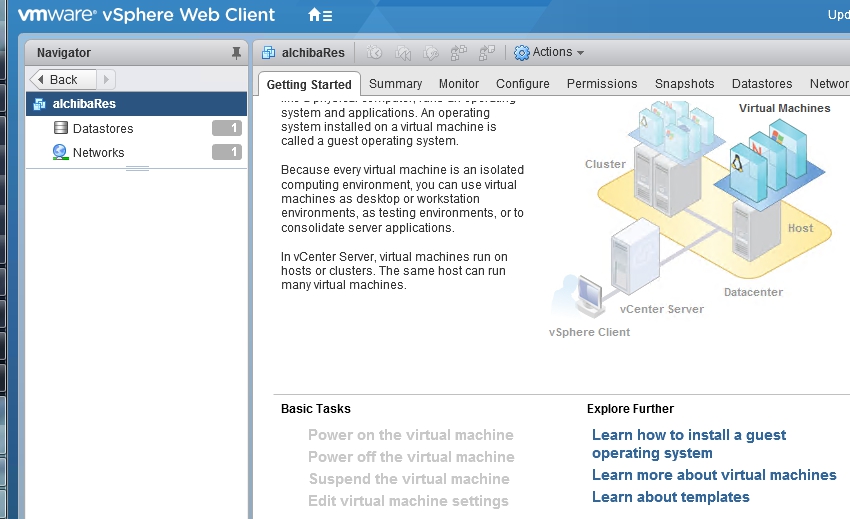
Login vSphere Web Client (Flash)
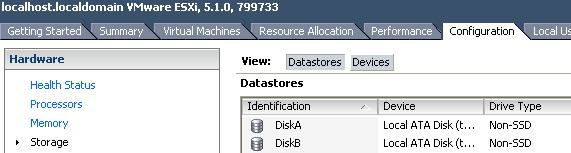
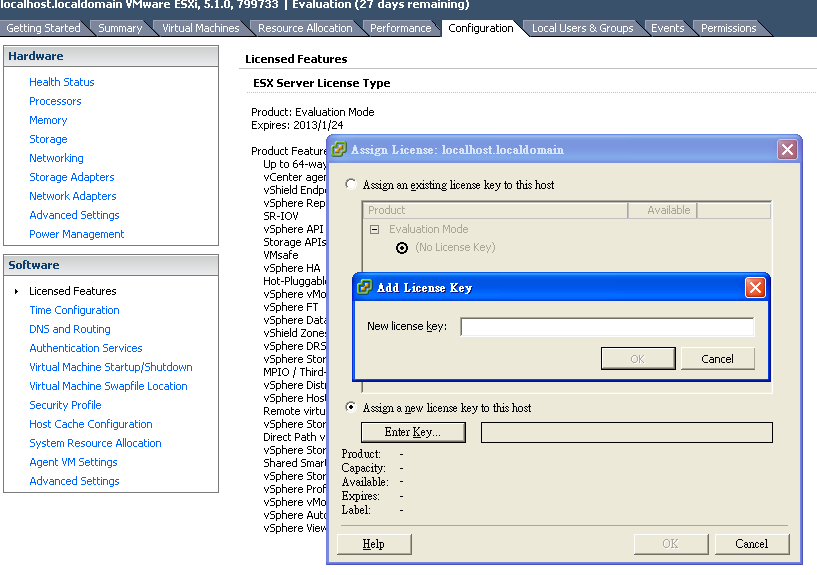
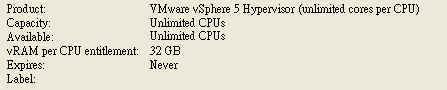
create datacenter, create host , license可以用試用版,因為目標只是想create HDD
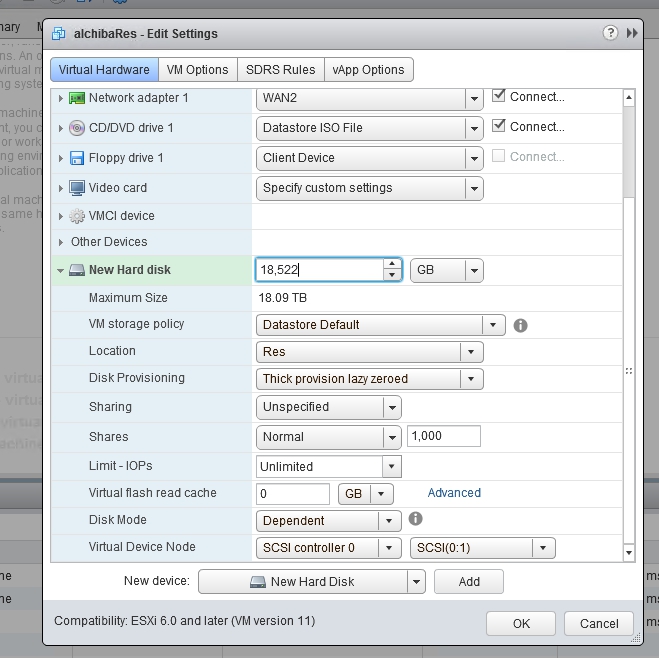
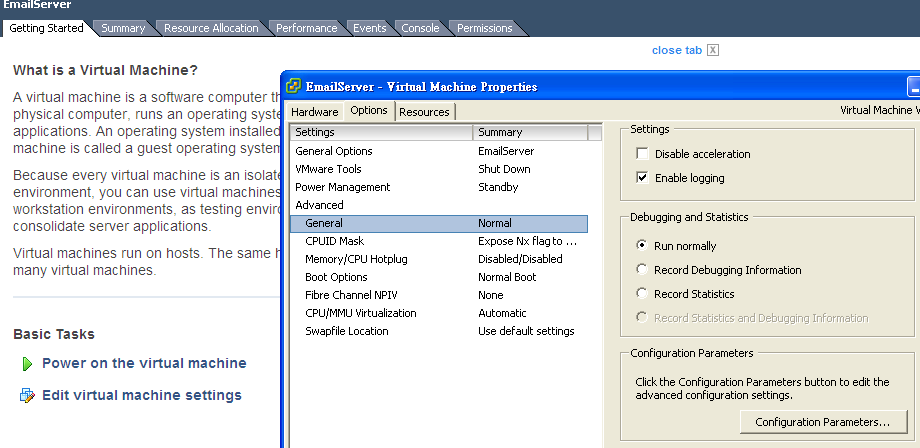
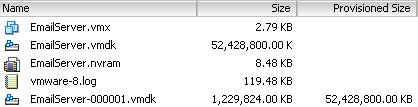
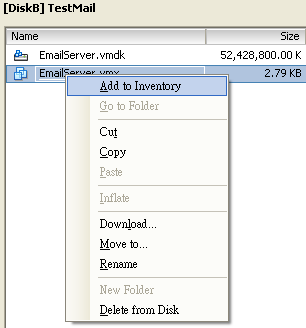
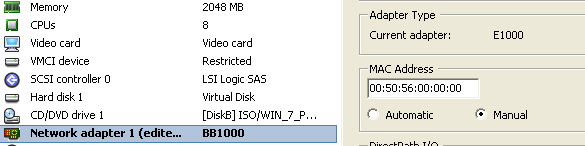
edit virtual machine + HDD

開機
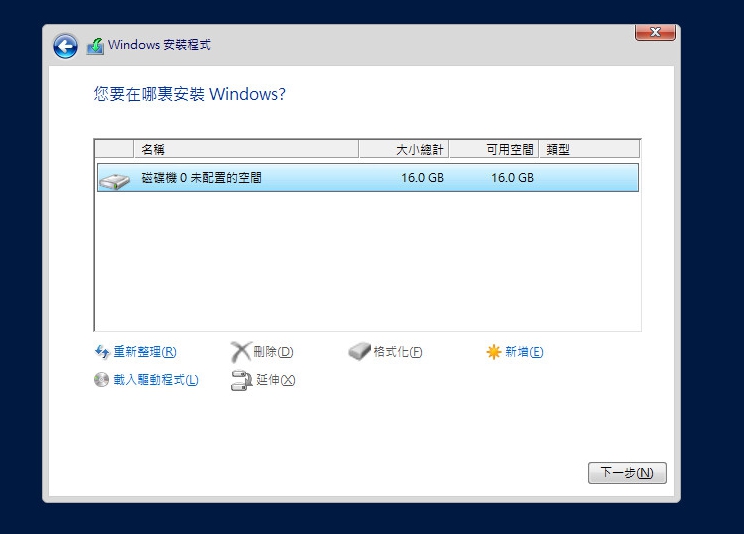
睇睇新hdd資料
fdisk -l
如果大過2TB要用parted尼界HDD
==================Larger than 2TB=============
parted /dev/sdb
mklabel gpt
print
Model: VMware Virtual disk (scsi)
Disk /dev/sdb: 19.9TB<====
mkpart primary 0GB 19.9TB
q
==================Larger than 2TB=============
#之後formart the partition to centos ext4
mkfs.ext4 /dev/sdb1
#開mount point
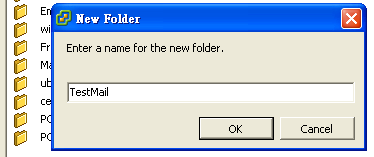
mkdir /home/dataDrive
#開機加入MOUNT PT
nano /etc/fstab
#add a row at the back
/dev/sdb1 /home/disk ext4 defaults 1 2
#手動mount一野
mount /dev/sdb1 /home/dataDrive
#睇結果
df -h


Recent Comments