» androidStudio の記事

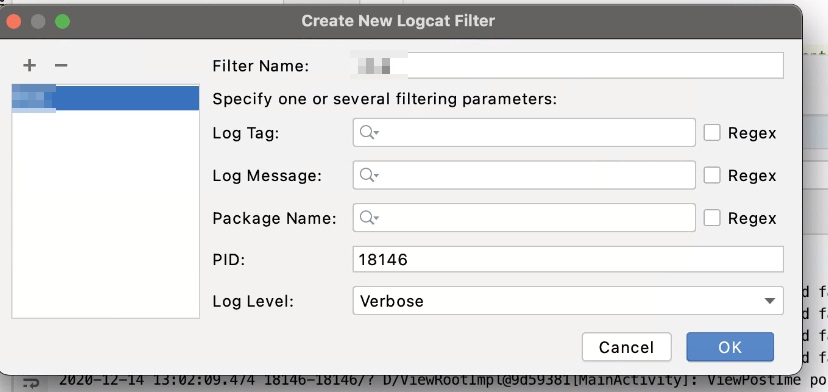
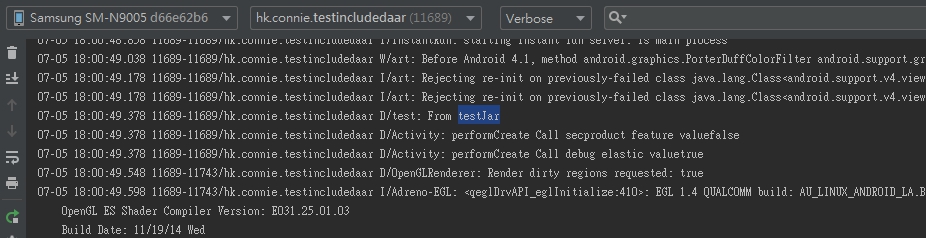
Open Terminal
~/Library/Android/sdk/platform-tools/adb shell ps | grep <com.xxx.xxx>
to get the pid of the packagname application
And open android studio
On logcat section tick on the pull down menu of regex
Select Edit Filter Configuration
and insert pid, PS: using package name to search is not work well with non-compiled project via android studio.

min use unity 2017version
change scripting backend to IL2CPP
Target Architectures> click arm64 and unclick x86

alt text

1)clean project rebuild

2)restart android studio

3)File->Invalidate cache and restart

4)open android terminal
first time use Gradle have to change the permission
chmod +x gradlew
./gradlew compileDebugSource –stacktrace -info
then see the error for details

Please add this to AndroidManifest.xml:
<uses-library
android:name="org.apache.http.legacy"
android:required="false" />

~ android logcat missing filter gone ~

connie 2019.07.29 | android | | No Comments

-logcat setting change it to floating mode and disable the floating mode, and double click the logcat bar to resize the logcat, it i will appear again

-if still cannot fix restart android studio and retry

~ unity use native android aar library ~

connie 2019.07.17 | unity | | No Comments

-create project with no activity

-libs copy unity classes file
C:\Program Files\Unity\Editor\Data\PlaybackEngines\AndroidPlayer\Variations\mono\Release\Classes\classes.jar

-Gradle window =>refresh Gradle project

Create Class MainActivity.class

package hk.connie.testunitypackage;

import android.os.Bundle;
import android.support.v7.app.AlertDialog;
import android.widget.Toast;

import com.unity3d.player.UnityPlayerActivity;

public class MainActivity extends UnityPlayerActivity {

@Override
protected void onCreate(Bundle savedInstanceState) {
super.onCreate(savedInstanceState);
}

public String ShowDialog(final String _title, final String _content){
runOnUiThread(new Runnable() {
@Override
public void run() {
AlertDialog.Builder builder = new AlertDialog.Builder(MainActivity.this);
builder.setTitle(_title).setMessage(_content).setPositiveButton("Down", null);
builder.show();
}
});
return "Java return";
}

public void ShowToast(final String mStr2Show){
runOnUiThread(new Runnable() {
@Override
public void run() {
Toast.makeText(getApplicationContext(),mStr2Show, Toast.LENGTH_LONG).show();
}
});
}

}

AndroidManifest.xml

<application>
.....
<activity android:name="hk.connie.testunitypackage.MainActivity">
<intent-filter>
<action android:name="android.intent.action.MAIN" />
<category android:name="android.intent.category.LAUNCHER" />
</intent-filter>
<meta-data android:name="unityplayer.UnityActivity" android:value="true" />
</activity>
.....
</application>

build.gradle

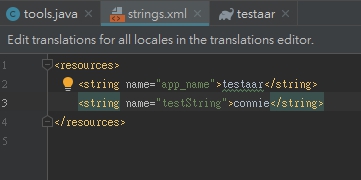
Change
apply plugin: ‘com.android.application’
to
apply plugin: ‘com.android.library’

and del
applicationid

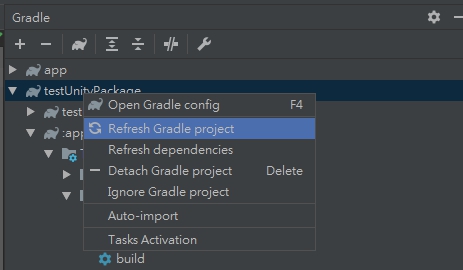
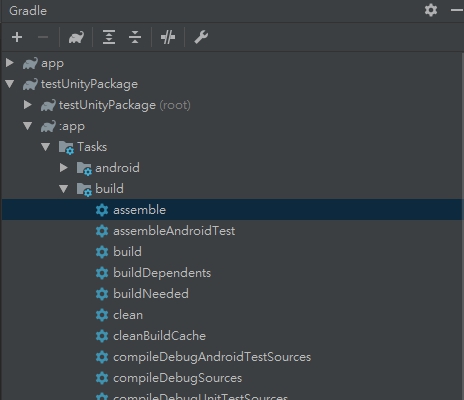
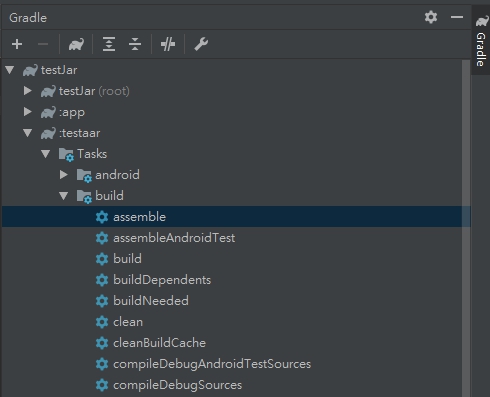
Go to Gradle Windows > select the package >tasks > Build > assemble

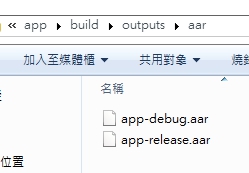
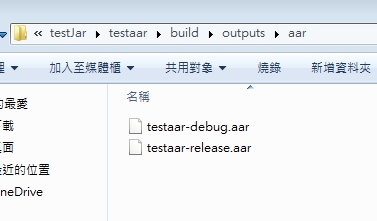
Then it will generate a aar file to this folder xxx\testUnityPackage\app\build\outputs\aar

Then change the file extension to zip

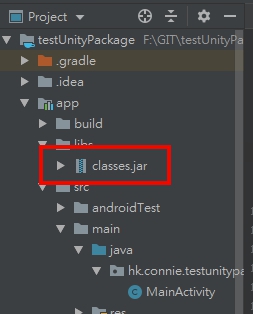
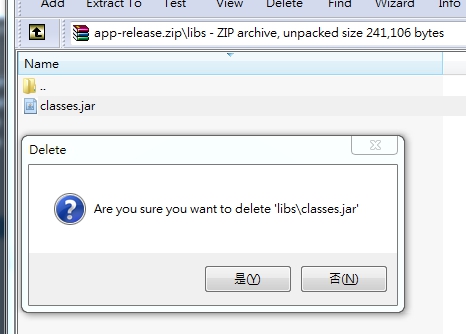
use winrar to open it and del the classes.jar and change back to aar extension

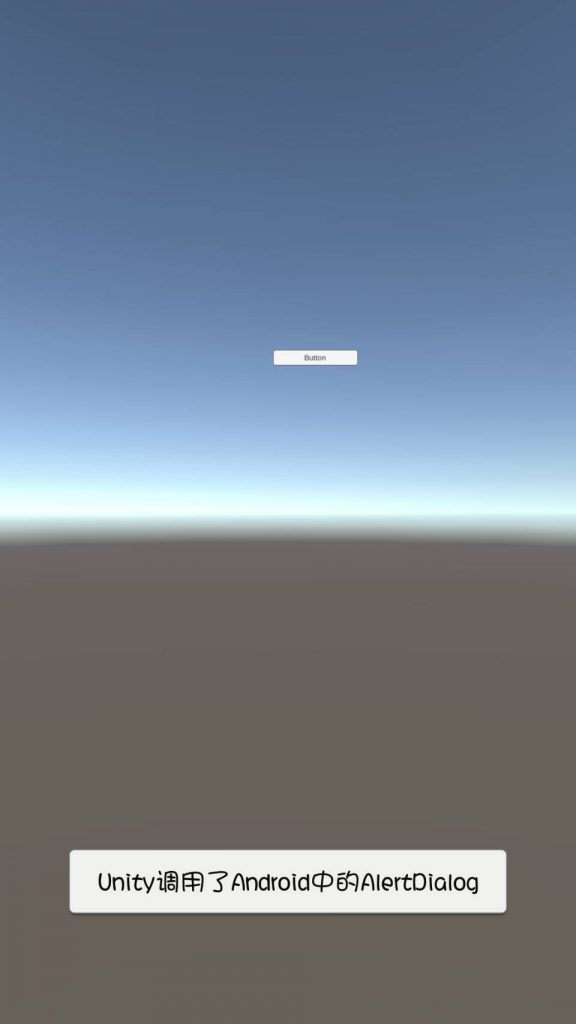
Then the aar file is ready for unity.
Open a new project in unity
create new button

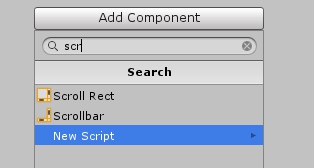
create new empty game object and add component > new script

using System.Collections;
using System.Collections.Generic;
using UnityEngine;
using UnityEngine.UI;

public class controller : MonoBehaviour {

    public Button loginBtn;

    // Use this for initialization
	void Start () {
        loginBtn.onClick.AddListener(loginAction);
	}
	
	// Update is called once per frame
	void Update () {
		
	}

    void loginAction()
    {
        Debug.Log("You have clicked the button!");
        using (AndroidJavaClass jc = new AndroidJavaClass("com.unity3d.player.UnityPlayer"))
        {
            using (AndroidJavaObject jo = jc.GetStatic<AndroidJavaObject>("currentActivity"))
            {
                jo.Call("ShowToast", "Unity use Android's AlertDialog");
            }
        }
    }
}

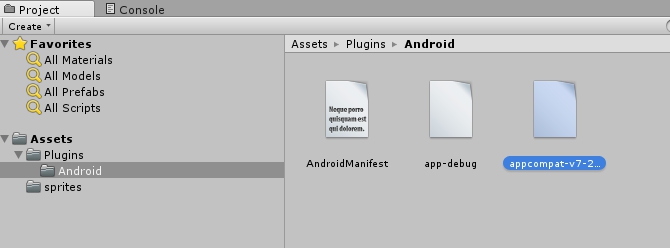
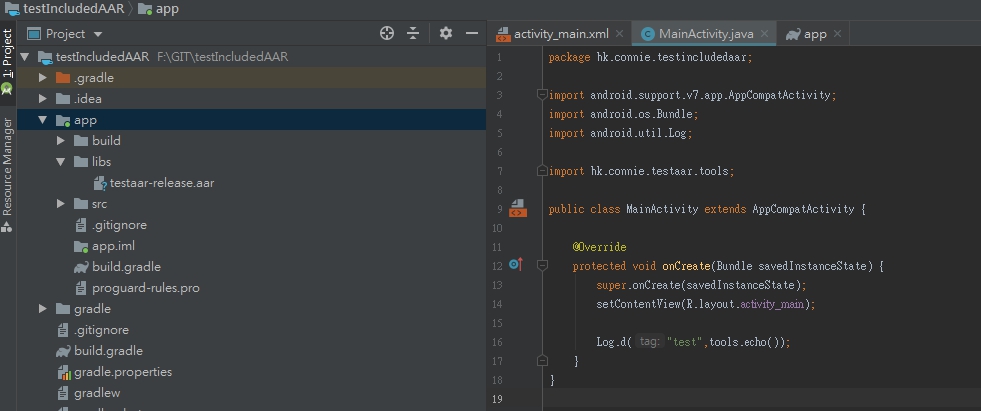
then go to assets windows
create folder Plugins>Android
put the aar file and AndroidManifest.xml to the folder

aar location:
xxx\testUnityPackage\app\build\outputs\aar

AndroidManifest.xml location:
xxx\GIT\testUnityPackage\app\src\main\AndroidManifest.xml

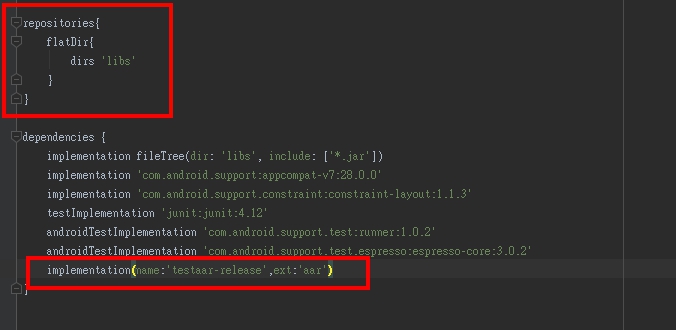
and most important thing is since we have use com.android.support:appcompat-v7 in android studio and we are using gradle method to import the lib, unity will not auto import that library, so we have to copy the v7 lib to the unity, which is location at
C:\Users\xxx\AppData\Local\Android\sdk\extras\android\m2repository\com\android\support\appcompat-v7\xxx.aar

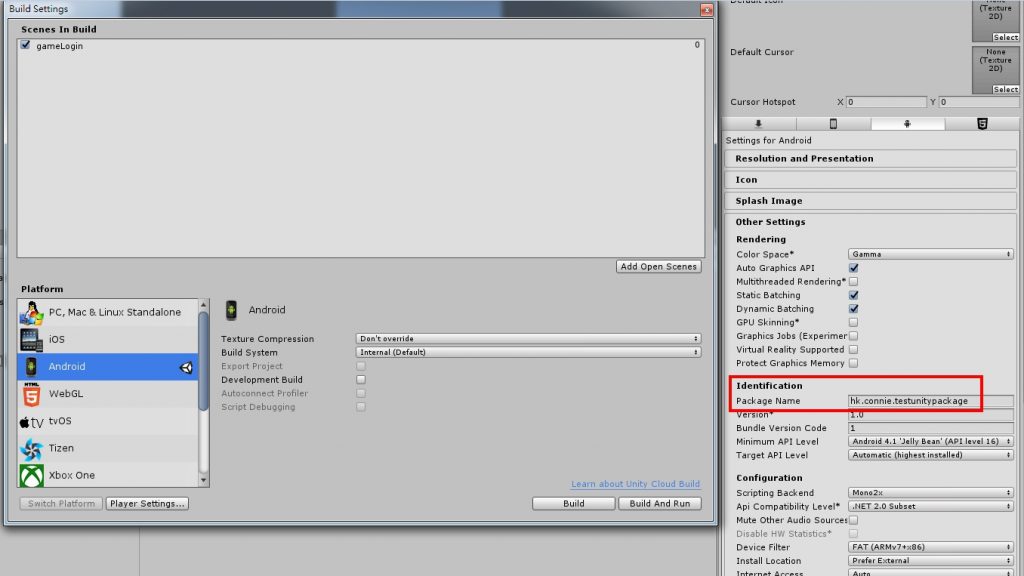
Unity go to build setting=>Android=>PlayerSetting
change the package name, it should be as same as your android studio aar project

~ Android studio create an aar library ~

connie 2019.07.08 | android | | No Comments

Create a project
File->new->new module->android Library

create a class , and modify string.xml for testing

之後打開gradle

assemble then it will create 2 aar

Create a new project>change to project view, insert the aar file to app>libs folder

and change the gradle(apps)

try to execute the apps

~ android studio view 2 files side by side ~

connie 2019.06.03 | android | | No Comments

Android resource linking failed
xxx/res/layout/login_landscape.xml:2: error: attribute layout_constraintBottom_toBottomOf (aka xxx:layout_constraintBottom_toBottomOf) not found.

<EditText
android:id="@+id/editText2"
android:layout_width="wrap_content"
android:layout_height="wrap_content"
android:ems="10"
android:inputType="textPersonName"
android:background="@drawable/text_field_bg"
android:padding="5dp"
android:hint="請輸入帳號(4-16英數)"/>
« Previous Page | HOME |

Smiley face

April 2024
S M T W T F S
 123456
78910111213
14151617181920
21222324252627
282930