-create project with no activity
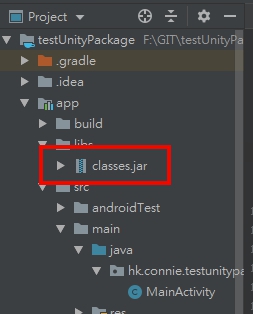
-libs copy unity classes file
C:\Program Files\Unity\Editor\Data\PlaybackEngines\AndroidPlayer\Variations\mono\Release\Classes\classes.jar
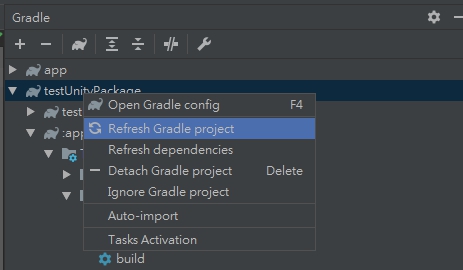
-Gradle window =>refresh Gradle project
Create Class MainActivity.class
package hk.connie.testunitypackage;

import android.os.Bundle;
import android.support.v7.app.AlertDialog;
import android.widget.Toast;

import com.unity3d.player.UnityPlayerActivity;

public class MainActivity extends UnityPlayerActivity {

    @Override
    protected void onCreate(Bundle savedInstanceState) {
        super.onCreate(savedInstanceState);
    }

    public String ShowDialog(final String _title, final String _content){
        runOnUiThread(new Runnable() {
            @Override
            public void run() {
                AlertDialog.Builder builder = new AlertDialog.Builder(MainActivity.this);
                builder.setTitle(_title).setMessage(_content).setPositiveButton("Down", null);
                builder.show();
            }
        });
        return "Java return";
    }

    public void ShowToast(final String mStr2Show){
        runOnUiThread(new Runnable() {
            @Override
            public void run() {
                Toast.makeText(getApplicationContext(),mStr2Show, Toast.LENGTH_LONG).show();
            }
        });
    }

}
AndroidManifest.xml
<application>
.....
<activity android:name="hk.connie.testunitypackage.MainActivity">
    <intent-filter>
        <action android:name="android.intent.action.MAIN" />
        <category android:name="android.intent.category.LAUNCHER" />
    </intent-filter>
    <meta-data android:name="unityplayer.UnityActivity" android:value="true" />
</activity>
.....
</application>
build.gradle
Change
apply plugin: ‘com.android.application’
to
apply plugin: ‘com.android.library’
and del
applicationid
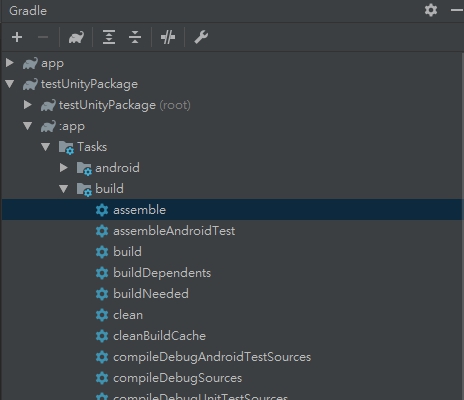
Go to Gradle Windows > select the package >tasks > Build > assemble
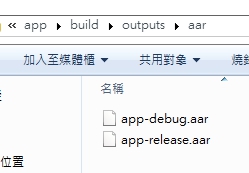
Then it will generate a aar file to this folder xxx\testUnityPackage\app\build\outputs\aar
Then change the file extension to zip

use winrar to open it and del the classes.jar and change back to aar extension
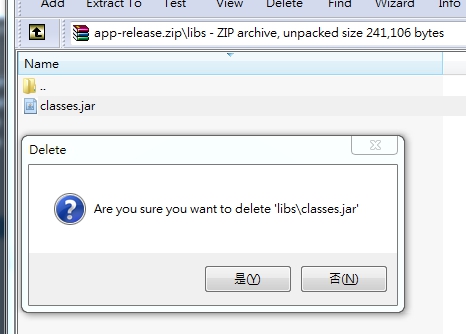
Then the aar file is ready for unity.
Open a new project in unity
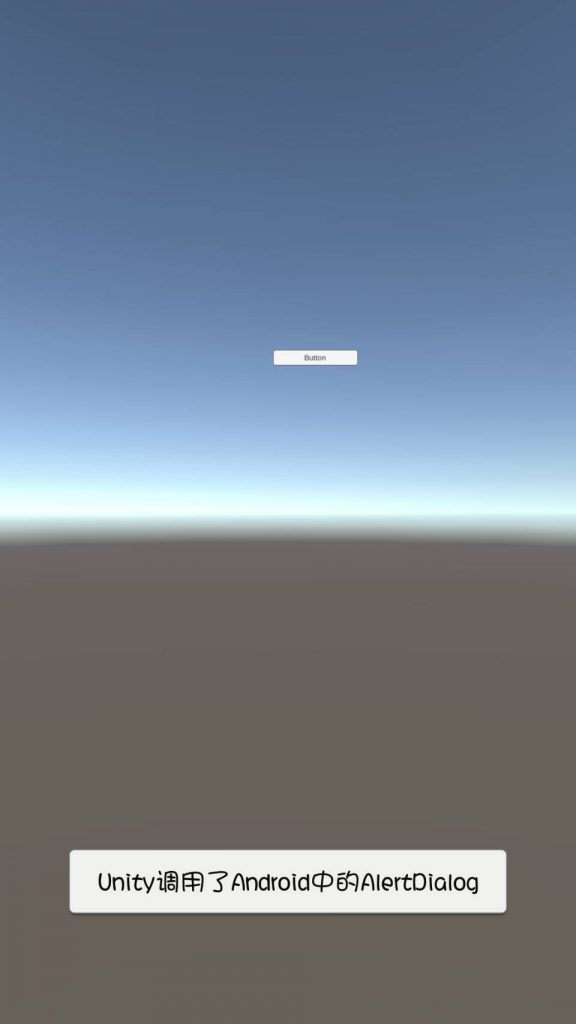
create new button

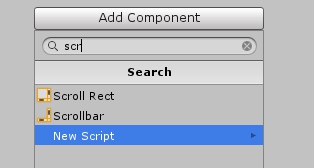
create new empty game object and add component > new script

using System.Collections;
using System.Collections.Generic;
using UnityEngine;
using UnityEngine.UI;

public class controller : MonoBehaviour {

    public Button loginBtn;

    // Use this for initialization
	void Start () {
        loginBtn.onClick.AddListener(loginAction);
	}

	// Update is called once per frame
	void Update () {

	}

    void loginAction()
    {
        Debug.Log("You have clicked the button!");
        using (AndroidJavaClass jc = new AndroidJavaClass("com.unity3d.player.UnityPlayer"))
        {
            using (AndroidJavaObject jo = jc.GetStatic<AndroidJavaObject>("currentActivity"))
            {
                jo.Call("ShowToast", "Unity use Android's AlertDialog");
            }
        }
    }
}
then go to assets windows
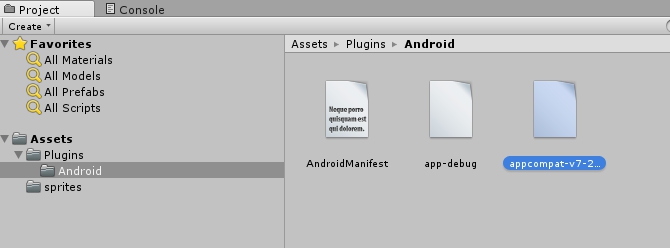
create folder Plugins>Android
put the aar file and AndroidManifest.xml to the folder
aar location:
xxx\testUnityPackage\app\build\outputs\aar
AndroidManifest.xml location:
xxx\GIT\testUnityPackage\app\src\main\AndroidManifest.xml
and most important thing is since we have use com.android.support:appcompat-v7 in android studio and we are using gradle method to import the lib, unity will not auto import that library, so we have to copy the v7 lib to the unity, which is location at
C:\Users\xxx\AppData\Local\Android\sdk\extras\android\m2repository\com\android\support\appcompat-v7\xxx.aar

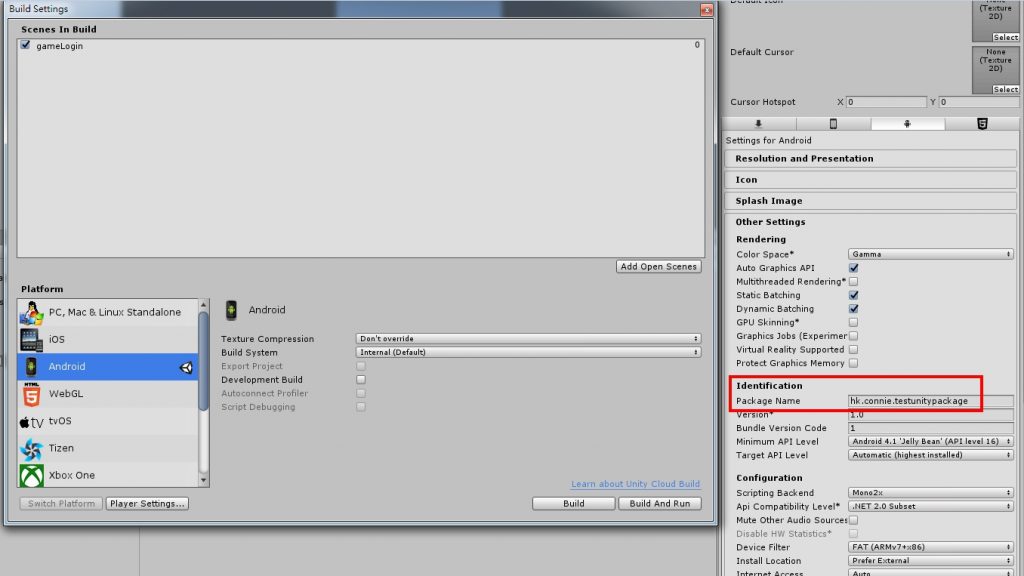
Unity go to build setting=>Android=>PlayerSetting
change the package name, it should be as same as your android studio aar project

Comment feed