有2個方法一個係需要重新打包
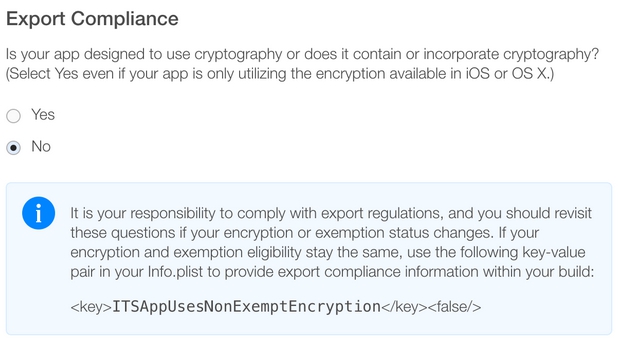
add Boolen Key in info.plist
ITSAppUsesNonExemptEncryption
Value
NO
之後係itune connect㩒黃色三角 , select no 之後就唔會再出現
或尼個方法,不用重新打包,改build number,重新upload ipa
之後係itune connect㩒黃色三角 , select no 之後就唔會再出現 , and start internal tesing

有2個方法一個係需要重新打包
add Boolen Key in info.plist
ITSAppUsesNonExemptEncryption
Value
NO
之後係itune connect㩒黃色三角 , select no 之後就唔會再出現
或尼個方法,不用重新打包,改build number,重新upload ipa
之後係itune connect㩒黃色三角 , select no 之後就唔會再出現 , and start internal tesing
open terminal
cd ~
mv .itmstransporter/ .old_itmstransporter/
del左個file 或 mv 之後重開xcode 就可以
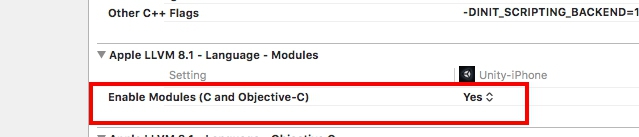
update the admob framework to 7.2 version
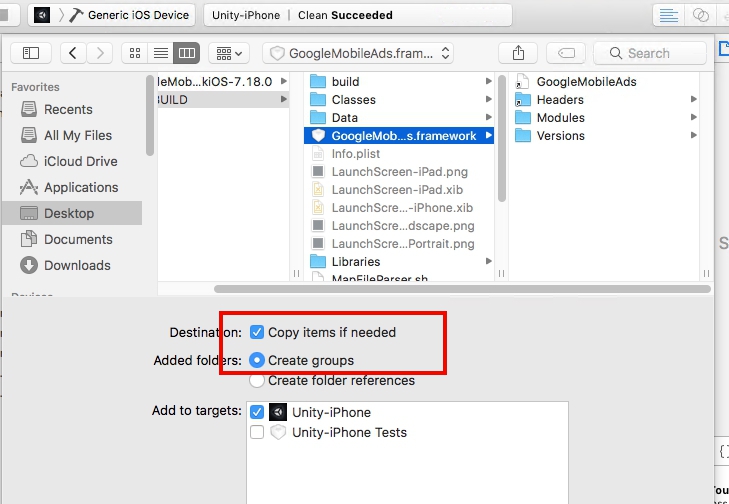
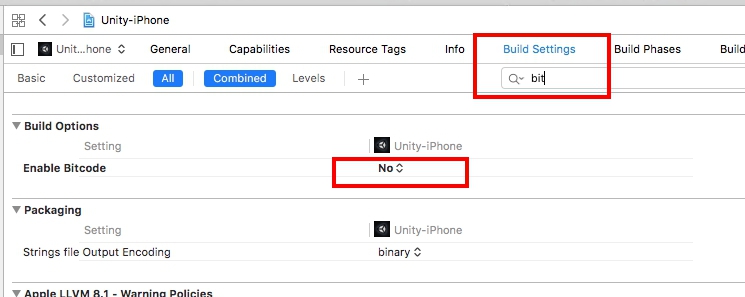
and do the following steps
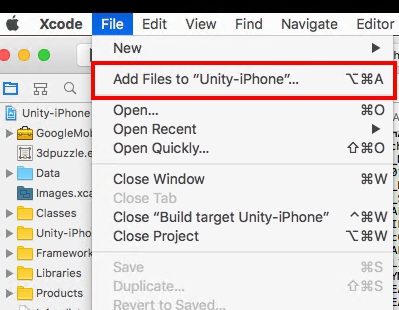
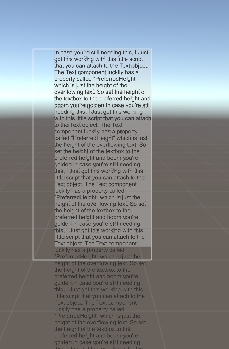
我地想做出Dynamite text box可以scroll 效果

首先生一個panel出來,調好大小(尼個大小會係你最後顯示出尼既大小),再生一個UI.text出尼,然後將UI.text拉入去panel內
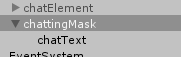
調一下UI.text的大小,最好大於panel方便測試scrolling
然後,去panel加入<mask>同<scroll Rect>,mask 主要用尼cover左出血既位,scroll rect是用scroll,Content選擇text

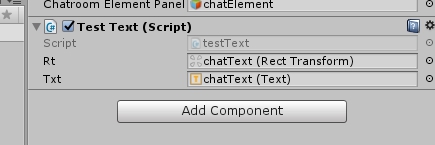
然後用script計算出textbox既size
public RectTransform rt;
public Text txt;

void Update () {
        rt.sizeDelta = new Vector2(rt.rect.width, txt.preferredHeight);
}

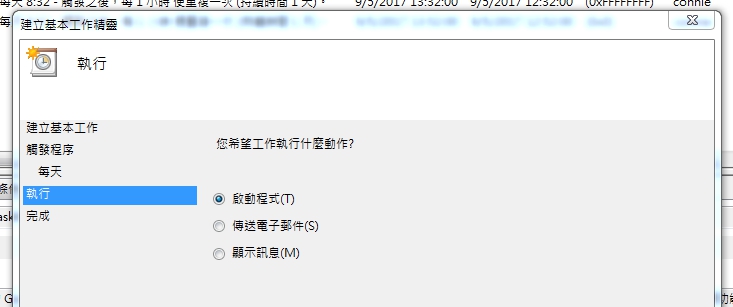
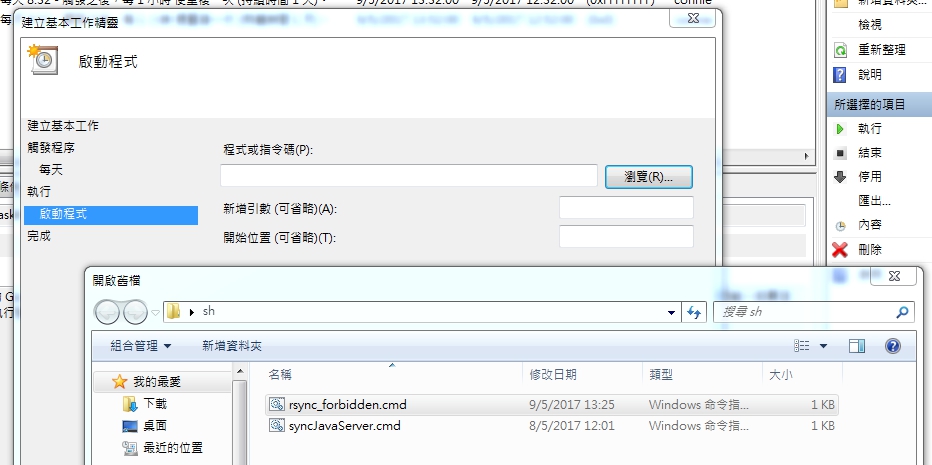
cmd 是一個windows batch processing file
然後按一下執行看看
download
1)vmware workstation pro form vmware web-site(free)
2)unlocker208 from insanelymac
3)Golden master 10.12 vm image
install vmware workstation pro with sn
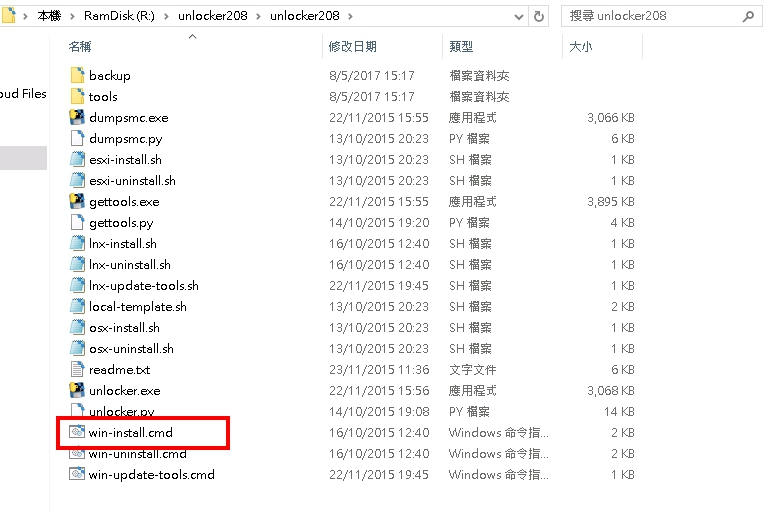
patch vmware with unlocker208, click on win-install(run as admin)
CLOSE VMWARE before patch
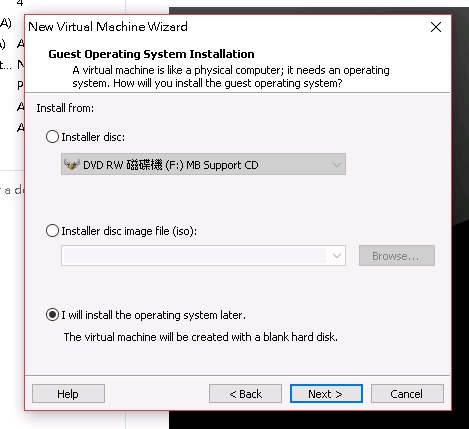
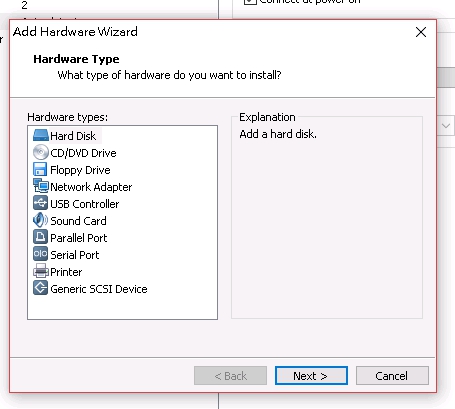
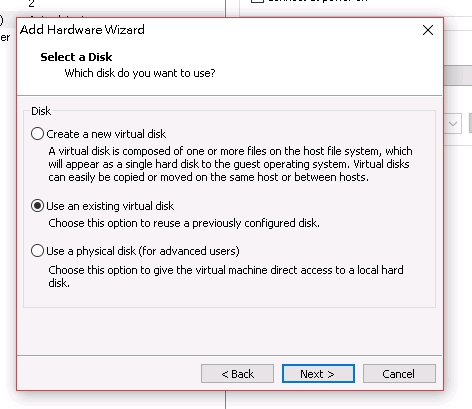
Then go back to the vmware, and create a new vm for mac

press I will install the operating system later.
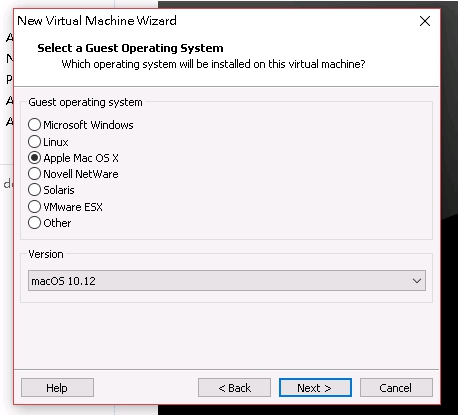
if <<apple Mac OS X>> is appear on the select box, then the patch process is successful.
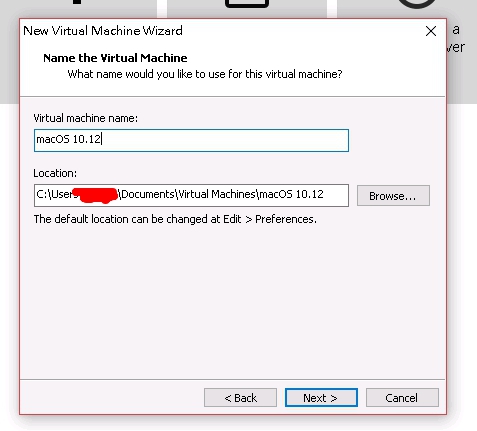
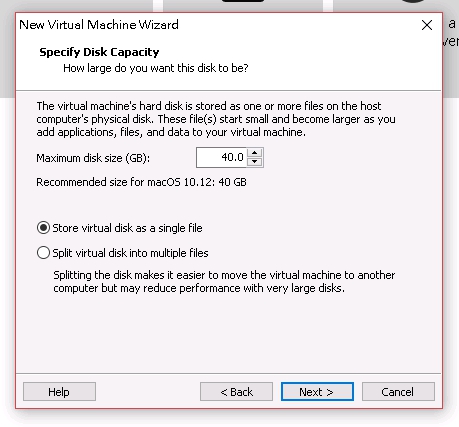
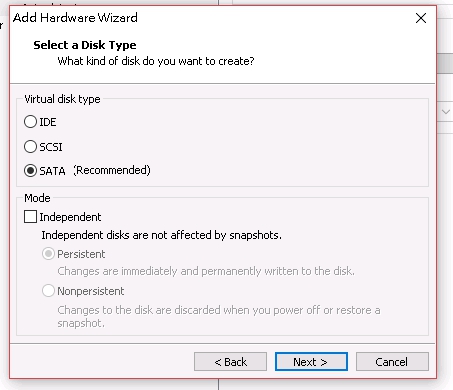
Select store virtual disk as a single file, then edie the vm and remove the hdd
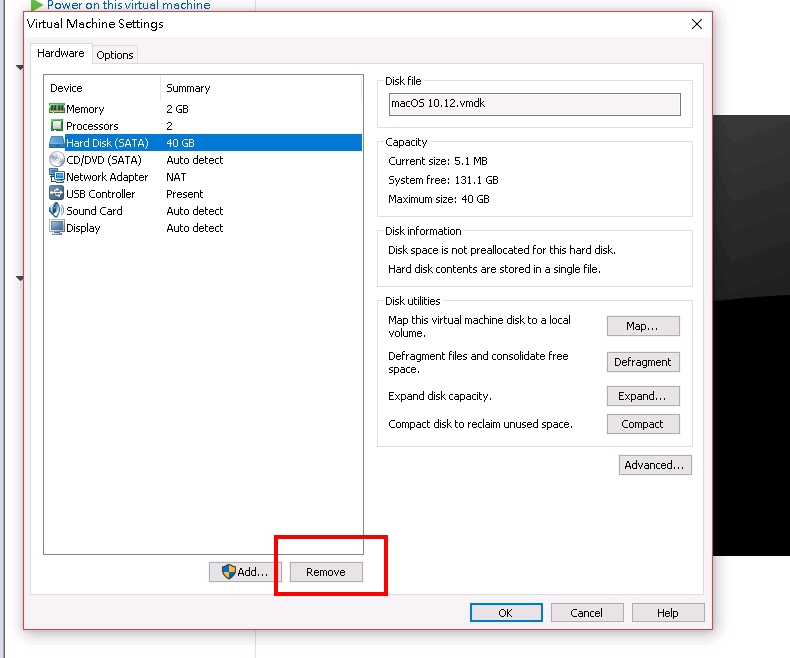
add back the existing Golden master virtual disk
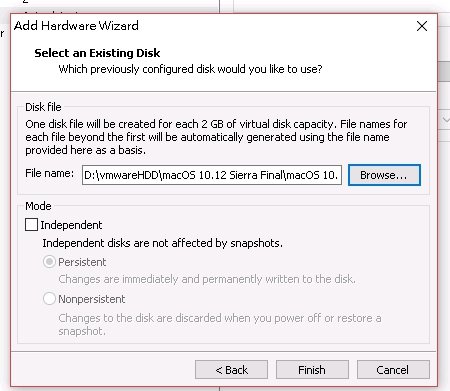
finish edit, then go to the vm folder and edite the .vmx by using notepad ++
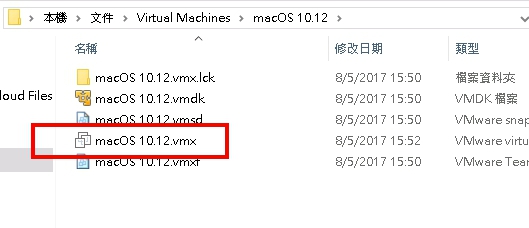
add this line at the back
smc.version = "0"
then switch on the vm
yum -y install rsync
nano /etc/rsyncd.conf

 # any name you like

[backup]
# destination directory for copy

path = /home/backup
# hosts you allow to access

hosts allow = 10.0.0.30
hosts deny = *
list = true
uid = root
gid = root
read only = false
[root@www ~]# mkdir /home/backup

[root@www ~]# systemctl start rsyncd

[root@www ~]# systemctl enable rsyncd
install cwRsync
open <bin> folder create file <known_hosts>
open cmd
move to the install folder
ssh-keygen -q -t rsa -f cwrsync -N ""
"cwrsync" will be the ssh public and private key file name
ssh -i {privateKeyName} {user}@{SERVERIP} -o UserKnownHostsFile=./known_hosts
and press <yes> to save the hosts
Then Connection is OK
Create a file named as "syncServer.cmd"
@ECHO OFF
SETLOCAL

H:
cd H:\cwRsync\bin

SET CWRSYNCHOME=H:\cwRsync\bin
SET HOME=%CWRSYNCHOME%

rsync --perms -arHz '/cygdrive/c/Users/{USER}/workspace/icfServer/src/' --progress --delete -e'./ssh -i ./cwrsync -o UserKnownHostsFile=./known_hosts' {user}@{HOST IP}:/home/folder/

PAUSE
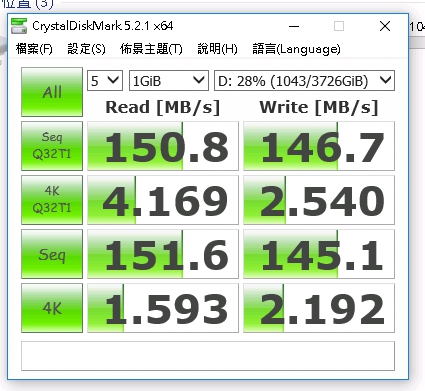
640GB SATA non-raid HDD
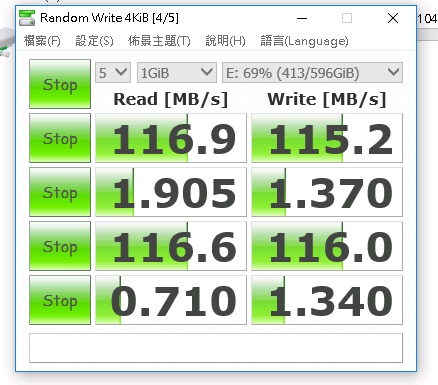
4TB SATA RAID-1
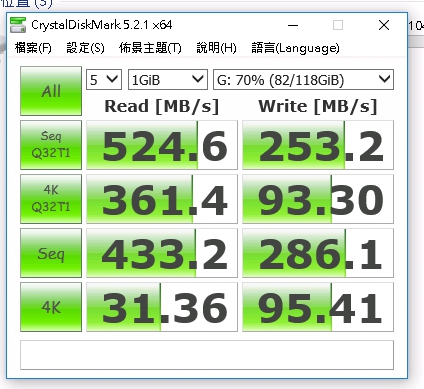
m5p SATA SSD non-raid HDD
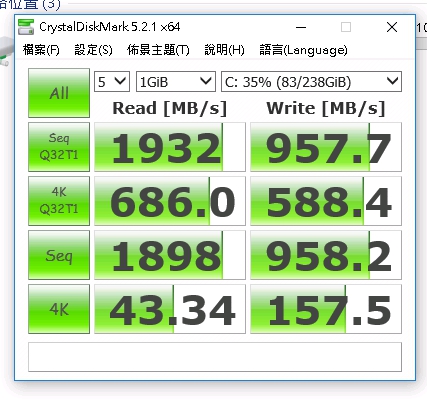
M.2 Raid-0 128GBx2 M8P
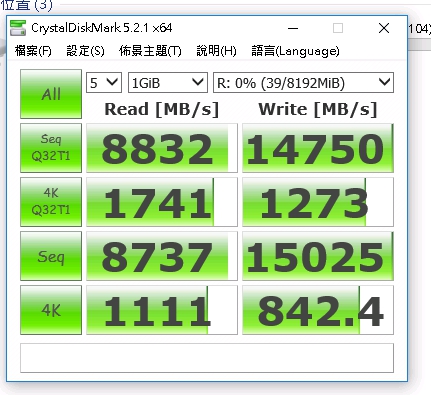
DDR4 RAM DISK
mysql> stop slave;
Query OK, 0 rows affected (0.00 sec)

mysql> set global sql_slave_skip_counter=2;
Query OK, 0 rows affected (0.00 sec)

START SLAVE;

SHOW SLAVE STATUS \G;

Recent Comments