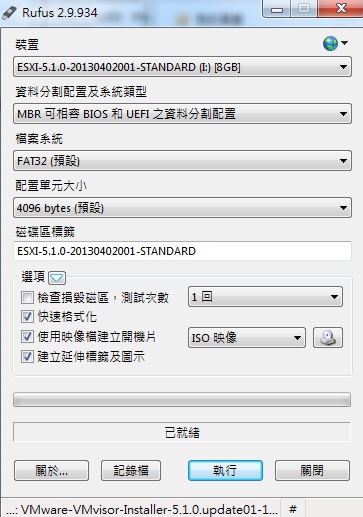
- Download Rufus
- Download ESXI image
- Insert usb drive
-
» Uncategorized の記事
Install Nano
ipkg update
ipkg install nano

nano /opt/etc/nanorc
uncomment the include line
Setup nano Fix bad regex error message
nano fix_bad_regex.sh

#!/bin/bash
NEW="\\\b"
DPATH="/opt/share/nano/*.nanorc"
BPATH="/opt/share/nano/"
[ ! -d $BPATH ] && mkdir -p $BPATH || :
for f in $DPATH
do
  if [ -f $f -a -r $f ]; then
    /bin/cp $f "$f.bak"
    sed -i "s/\\\</$NEW/g" "$f"
    sed -i "s/\\\>/$NEW/g" "$f"
   else
    echo "Error: Cannot read $f"
  fi
done

sh fix_bad_regex.sh
cd /volume1/public

wget http://ipkg.nslu2-linux.org/feeds/optware/syno-e500/cross/unstable/syno-e500-bootstrap_1.2-7_powerpc.xsh

sh syno-e500-bootstrap_1.2-7_powerpc.xsh

ipkg update
hash sum mismatch:
http://hk.archive.ubuntu.com trusty/main Translation-en_HK
http://hk.archive.ubuntu.com trusty/multiverse Translation-en_HK
http://hk.archive.ubuntu.com trusty/restricted Translation-en_HK
http://hk.archive.ubuntu.com trusty/universe Translation-en_HK
nano /etc/apt/sources.list

ctrl+w(search)
ctrl+r(replace)
"hk."
""
A(All)
Ctrl+x
save

apt-get update

apt-get update && apt-get upgrade
cd /System/Library/Frameworks/MediaToolbox.framework/

mv RegionalSystemSoundsThatShareBehaviour.plist RegionalSystemSoundsThatShareBehaviour.plist.bak
# clone the repo
git clone https://github.com/sqlcipher/sqlcipher.git
pushd sqlcipher

# check if there are any interesting options
./configure --help

# CFLAGS will turn on encryption, default temp_store to memory,
# (file usage optional), enable full-text search, link to libcrypto
./configure CFLAGS="-DSQLITE_HAS_CODEC -DSQLITE_TEMP_STORE=2 -DSQLITE_ENABLE_FTS3 -lcrypto"

# just to be sure everything is in the initial state
make clean

# use as many CPUs as exist
# (you could also use 'sysctl -n hw.physicalcpu', which would not include 'logical' cores)
time make -j $(sysctl -n hw.ncpu)
sudo make install

which sqlcipher
Create User
useradd connie
Change the password
passwd connie
Allow user to sudo -i
nano /etc/sudoers
找出這行
root ALL=(ALL) ALL
加入這行
connie ALL=(ALL) ALL
完成
順手關掉root 的ssh right
nano /etc/ssh/sshd_config
可以change port number
Port 2222
disable root access
PermitRootLogin no
~ Jailbreak PS3 ~
必要東西
- PS3 firmware 必須為原廠3.55或以下
- 3000機不可
- 3.55 OFW(原廠 firmware)
- 3.5.5 CFW kmeaw
- QA Flag
- Rogero 4.30 v2.05
- multiman
最安全既做法係restore 3.55 OFW->3.55CFW->Rogero 4.30 v2.05
如果你之前用過trueblue 的話都係restore 去OFW好一點。
RESTORE時唔想嚇自己的話,就去restore mode , 記得玲D碟出尼
將3.55 OFW 的PS3UPDAT.PUP 抄去USB的
/PS3/UPDATE
之後入restore mode
進入restore 方法:
- Turn off your Playstation 3.
- Hold the Power button down. The system will turn on and turn off once again.
- Once the system has been shutdown, Re-press and hold you finger until you hear 2 consecutive beeps.
- When you hear the 2 beeps take finger off power button. You will be promted to plug in your controller via usb and then press the PS button. The Recovery Menu will pop up.
完成後reboot , 做多次係3.55CFW
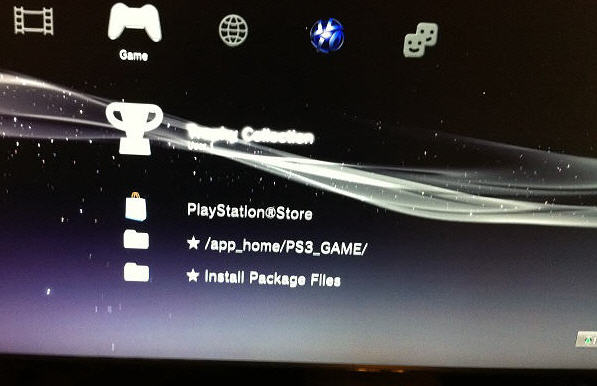
成功JAILBREAK 後會係game section 出現
- /app_home/PS3_GAME
- Install Package Files
之後將QA Flag.pkg 抄到USB 及安裝 QA Flag 聽到滴滴滴三聲之後ps3自動退出到XMB界面【如果没聽到滴滴滴的聲音說明 Toggle QA 没正確開啟,如果之前安装并運行成功過QA Flag】
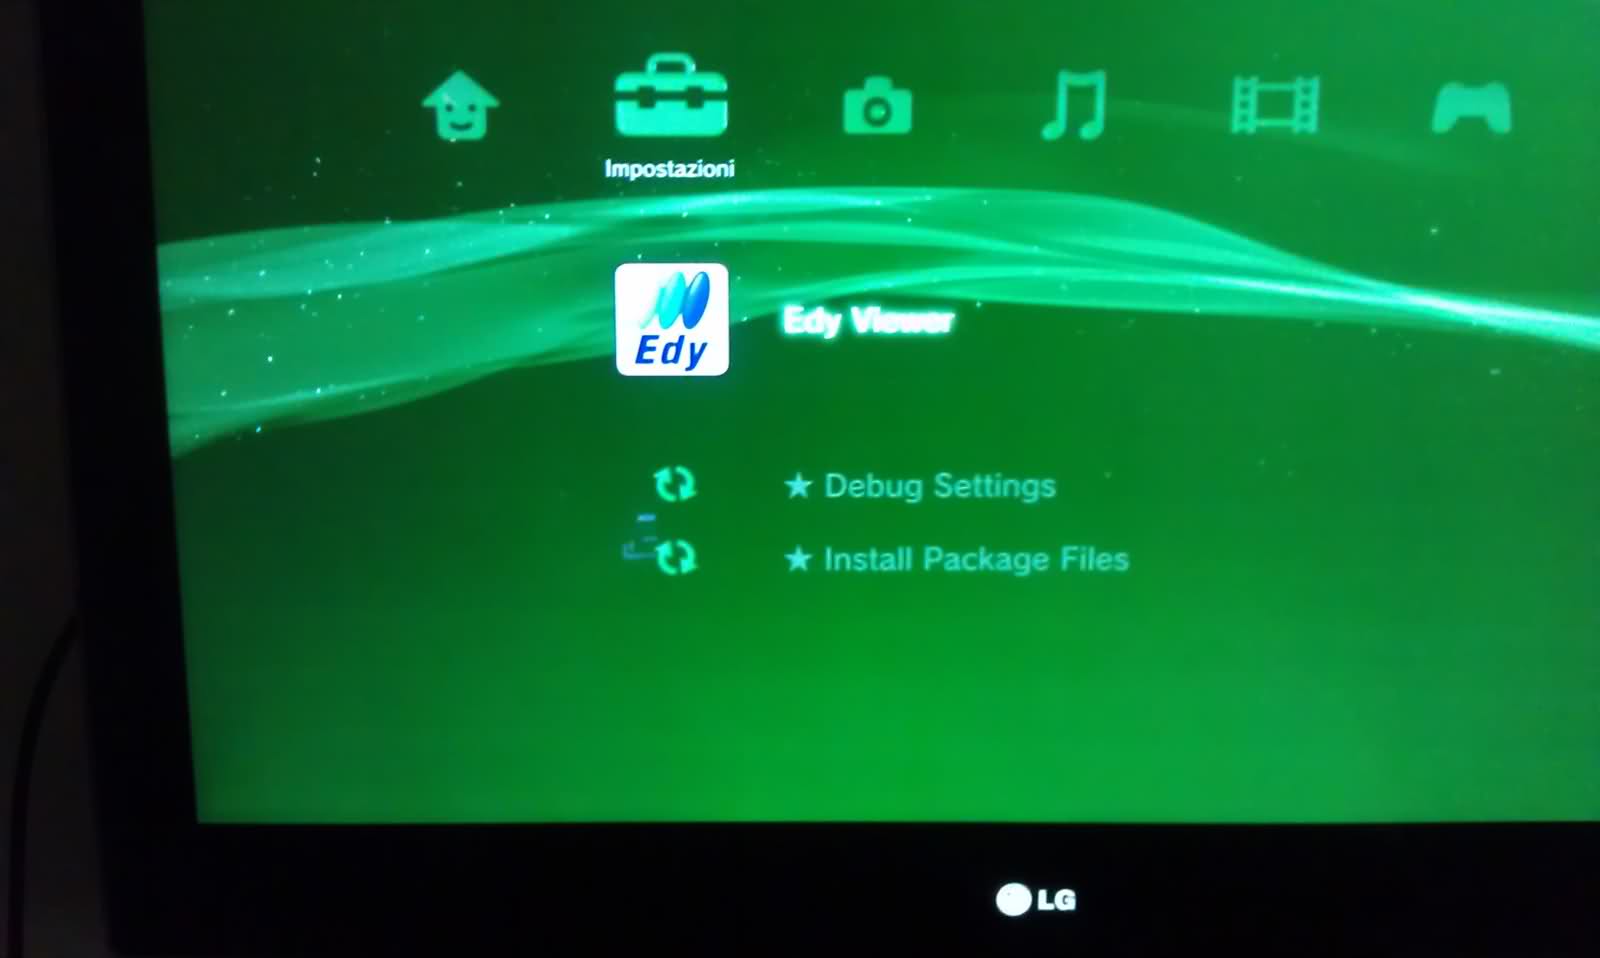
去到XMB介面的settings>network settings
同時按下L1+L2+L3(冬菇制)+R1+R2+十字制的下制
便會在settings>network settings下出現edy viewer,debug settings 及 install package files
進入debug setting 將system update debug 改為on
確定debug mode 開左後可以unzip Rogero 4.30 v2.05
將"Rogero_CEX4.30_V2.05" 改成 "PS3UPDAT.PUP" 及抄到USB到
/PS3/UPDATE
之後再去restore mode 刷成Rogero_CEX4.30_V2.05
reboot 後抄multiman的pkg去USB到, 返去PS3的game> install package files install multiman
用FTP抄game 去HDD0 的game 內就完成
首先download unibeast 1.7.0(SH1:f304ad812a6dc66037038673132b590fb9aabf9d (app)|fa373a007b624506154d00ce23fd3d1a026b029e (zip))
http://www.tonymacx86.com/downloads.php
以及用你的方法 download InstallESD.dmg(mountain Lion) 🙂 , mount installESD.dmg(SH1 HASH : e5dd2bf5560033cade7dd7d7da5ceec49f701b0e)
之後將install OS X mountain Lion.app 抄去 /Applications
之後右click select Show Package Contents
入去Contents, create 新folder "SharedSupport" ,將InstallESD.dmg抄入去,聞說要unmount 左InstallESD.dmg先
之後到applications folder 按cmd+shift+u 開terminal 輸入以下東東
cd /Applications/
cd "Install OS X Mountain Lion.app"
mkdir -p "_MASReceipt"
echo -e '\000com.apple.InstallAssistant.MountainLion' > _MASReceipt/receipt
下一部係修改unibeast app
將unibeast抄到desktop
到terminal 輸入以下東東,請改左個username 去= =
pkgutil --expand /Users/<username>/Desktop/UniBeast\ -\ Mountain\ Lion\ 1.7.0.pkg UniTemp
之後desktop 會多左個Unitemp folder
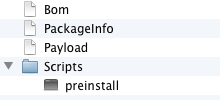
double click 會見到dsmos.pkg , 右click select Show Package Contents

有個folder 叫scripts , 入面有個叫preinstall file , 用any kind of code editor 開佢( 小妹用TextWrangler )
將以下的code delete
if [ "$(file -b /Applications/Install\ OS\ X\ Mountain\ Lion.app/Contents/_MASReceipt/receipt)" != 'data' ]; then
	echo " "
	echo "No MAS receipt found, exiting";
	echo " "
	exit 1
fi

if [ "$(md5 -q /Applications/Install\ OS\ X\ Mountain\ Lion.app/Contents/_MASReceipt/receipt)" = 'f4747dbc07df72ad92a84186e2b5488d' ]; then
	echo " "
	echo "User created MAS receipt found, exiting";
	echo " "
	exit 1
fi

if [ "$(stat -f%z /Applications/Install\ OS\ X\ Mountain\ Lion.app/Contents/_MASReceipt/receipt)" -lt 4600 ]; then
	echo " "
	echo "MAS receipt too small, exiting";
	echo " "
	exit 1
fi

if ! grep -q com.apple.InstallAssistant.MountainLion /Applications/Install\ OS\ X\ Mountain\ Lion.app/Contents/_MASReceipt/receipt ;then
	echo " "
	echo "Wrong MAS receipt found, exiting";
	echo " "
	exit 1
else
	cp /Applications/Install\ OS\ X\ Mountain\ Lion.app/Contents/_MASReceipt/receipt "${3}/.receipt"
fi
save 完之後返去terminal pack返個pkg,
pkgutil --flatten UniTemp Unibeast_Fixed.pkg
下一部係準備usb
到/Applications/Utilities/Disk Utility
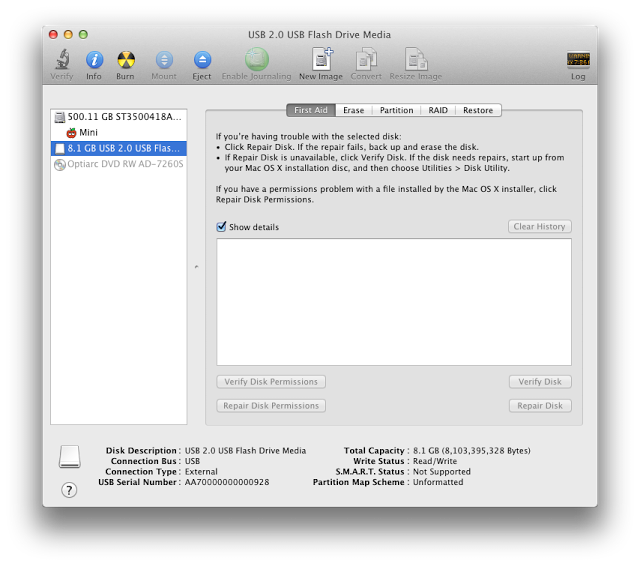
按partition
- Partition : choose 1 Partition
- option : choose MBR
- Format : Mac OS Extended (Journaled)
Apply , 等佢format
之後到Finder 右手邊right click usb drive to get info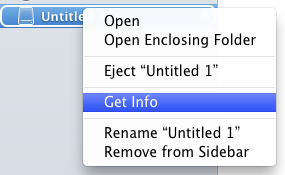
premission setting 改做如下
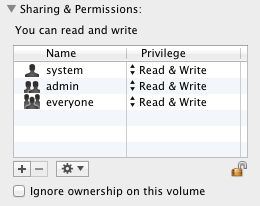
double click Unibeast_Fixed.pkg 就可以install 了

Recent Comments